So.. up to this point in time in the renovations, we'd been living in 2 bedrooms in our 3 bedroom house. The third bedroom was a badly enclosed old porch. It was also TINY. So, it had, over the first several months, become our storage room. So, nearly 6 months after completing the kitchen, we decided to tackle this room.
 |
North wall - before
Note: plug above door (why?) |
 |
East Wall - Before
I suppose in lieu of a wardrobe/closet, they hung a shower rod - eww |
 |
West wall - before
Look! Built in cupboards!! :)
|
 |
this is the back of the door - Before
eww, ugly! |
 |
This is the best pic I could find of the South wall - Before
It also gives you a good indication on just how small the room is - but I can still fit a bed and a crib/cot in there!! |
It appears - if my memory serves me correctly, that we replaced the window in April, then went to Canada for the month of May, and then started full on demo work when we returned in June. The project had to be finished by Kelsey's 3rd birthday at the end of July, so we'd have a spare room for my in-laws to come visit. Time and time again, it is proved to me that we work best with a firm deadline! :)
 |
| part of the job in this room was to raise the ceiling to be the same height as all the rest of the ceilings in the house. So, off comes the ceiling, along with all the walls, to make room for a new ceiling, new walls, and insulation batts!! |
 |
The floor also needed to come off, and be raised up. As this room was an old porch, there was a step down into the room. We wanted to make the floor the same height as the rest of the house. Marco meticulously pulled off each of these floor boards as they're native wood and will be used throughout the rest of the house as skirting boards, & window and door surrounds. Gotta love recycling!
|
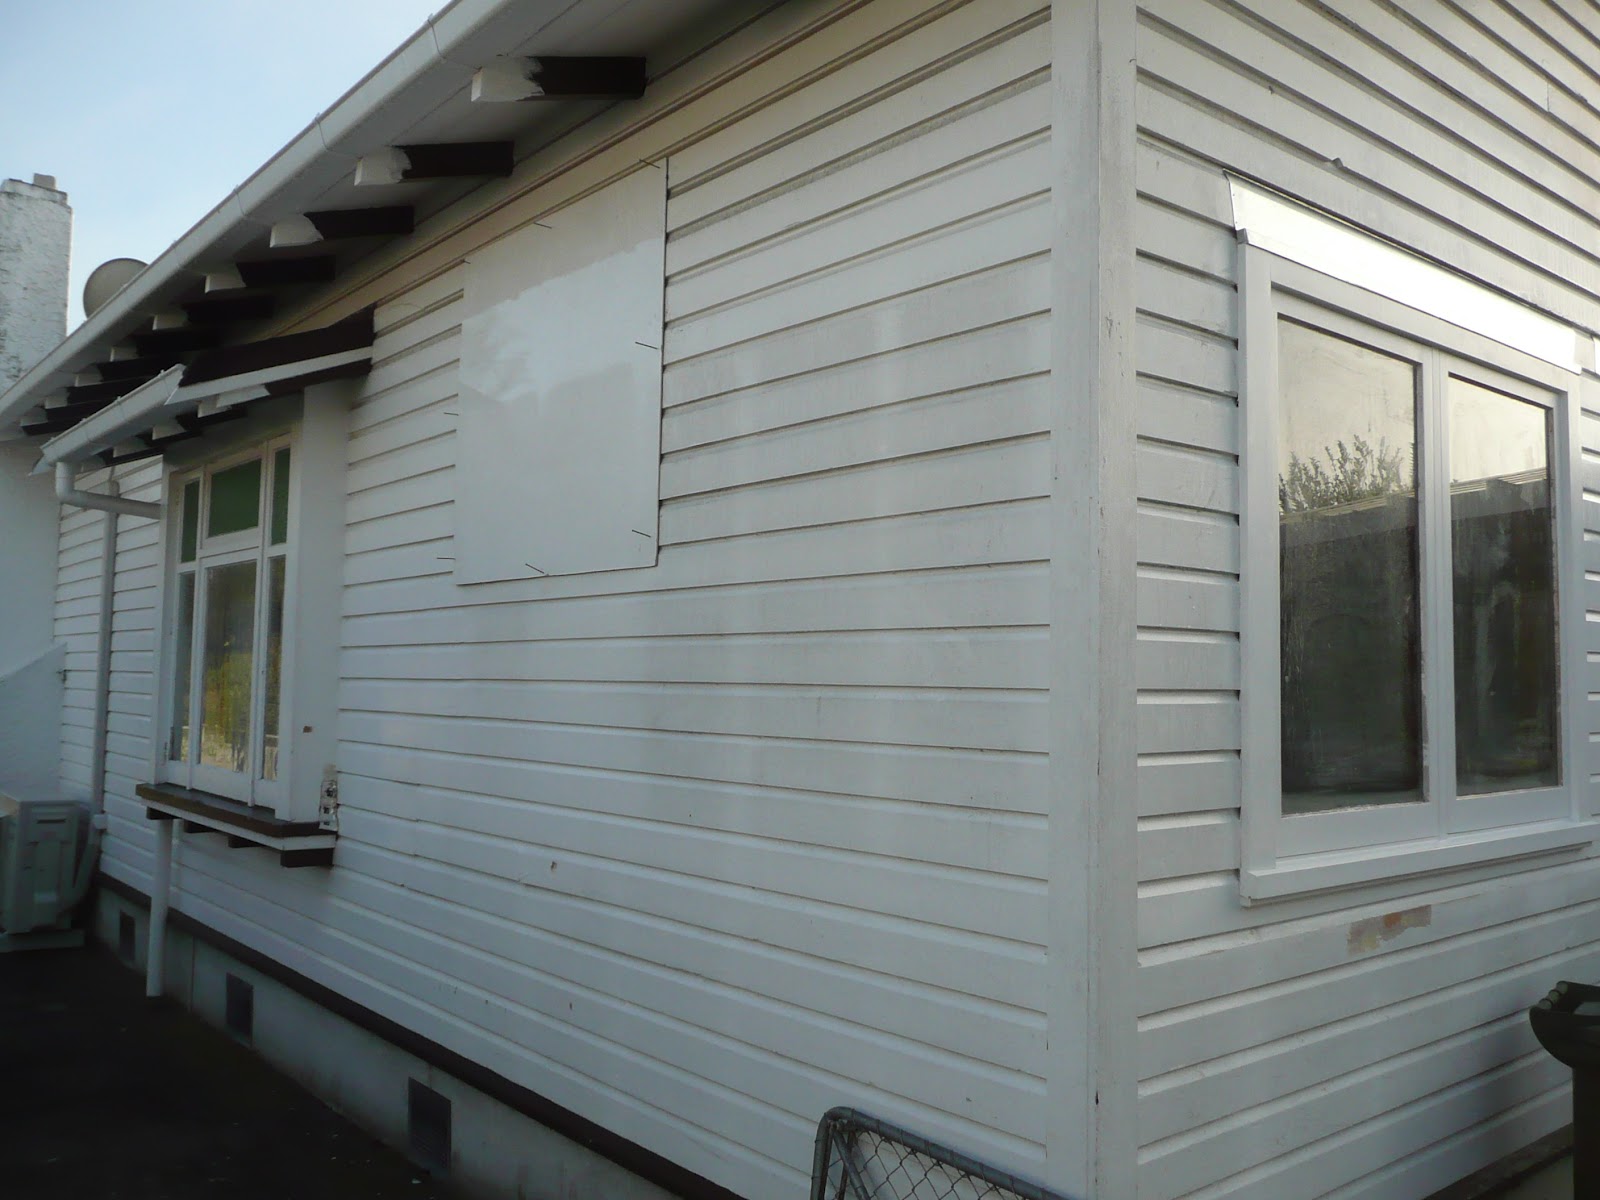
The West wall of the bedroom had this tiny window near the ceiling. Well, partly because it was ugly, and party because we were planning to put bunk beds along that wall, we decided to take that window out. I don't want some kid of mine to try crawling out from her bed through the window!!
 |
| Here's the outside of the wall with just a board covering up the hole. |
 |
| Since Marco always does things RIGHT, he had to remove a lot of weatherboards. Nothing quite like taking out a small window and needing to replace a LARGE amount of boards! |
 |
| All fixed. Perfectly. Pre-painting. |
Back to inside...
 |
| Gib (drywall) is up, and taped. Ready for painting. |
 |
| Door is stripped, sanded and oiled. MUCH better. |
 |
| We like to use ugly walls in the rest of the house to decide on our paint color :) |
 |
| Marco let me paint!! Although, I realized later that he only let me do the cutting in where it would be covered by stuff later.. Hmm.. me thinks he has some issues.. |
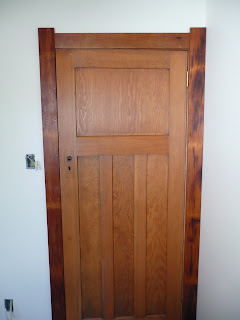 |
| Door all done (sans handle) |
 |
| skirting boards on.. getting ready for carpet!! |
 |
| woo-hoo.. purple carpet!! |
 |
| Kelsey checking out the new room (fresh carpet gives it a real bouncy feel!) |
 |
| my lovely curtains. |
 |
and the light.
This picture clearly shows the yellow tone to the walls in contrast to the white ceiling. Ahhh.. |
So, the girls moved in. Bunk beds were set up. Morgan moved into a big girl bed. And we were ready in time for guests to sleep in the newly appointed guest room.
Details: Walls were painted in Resene Soft Whisper
carpet was installed by Carpet One
ceiling is painted in white ceiling paint (with fly repellent)
curtains are "Delilah" by Prestigious Textiles


No comments:
Post a Comment